
Whatever you do for exercise (or manual labor work), increasing your abdominal bracing strength will make it easier. And one of the best ways to improve that ability is to learn and practice the hollow position.
What is the hollow position?
Contrary to the name, “hollow” does not mean sucking in your stomach or pulling your belly button toward your spine. (If you’ve practiced Pilates, the hollow position and Pilates scoop are two very different things.)
Rather, it’s the position that results from contracting your abs while attempting to pull your ribcage and tailbone together. As a practical example, it’s the feeling you get in your midsection when you sneeze.
When applied in the context of a sport or lifting something heavy—whether that’s a weight in a gym, a shovel full of dirt or snow, or a bag of groceries or small child—it’s an extremely strong position that stabilizes the torso, which in turn protects the spine from injury and provides a strong foundation for the limbs to work.
You’ve certainly instinctively applied it whenever you’ve picked up anything heavier than a few pounds. In fact, it’s impossible not to have done so. Still, becoming more aware of the position will enable you to practice it as both a standalone exercise and a part of your training (or work) routine.
Getting into position + Dos and Don’ts
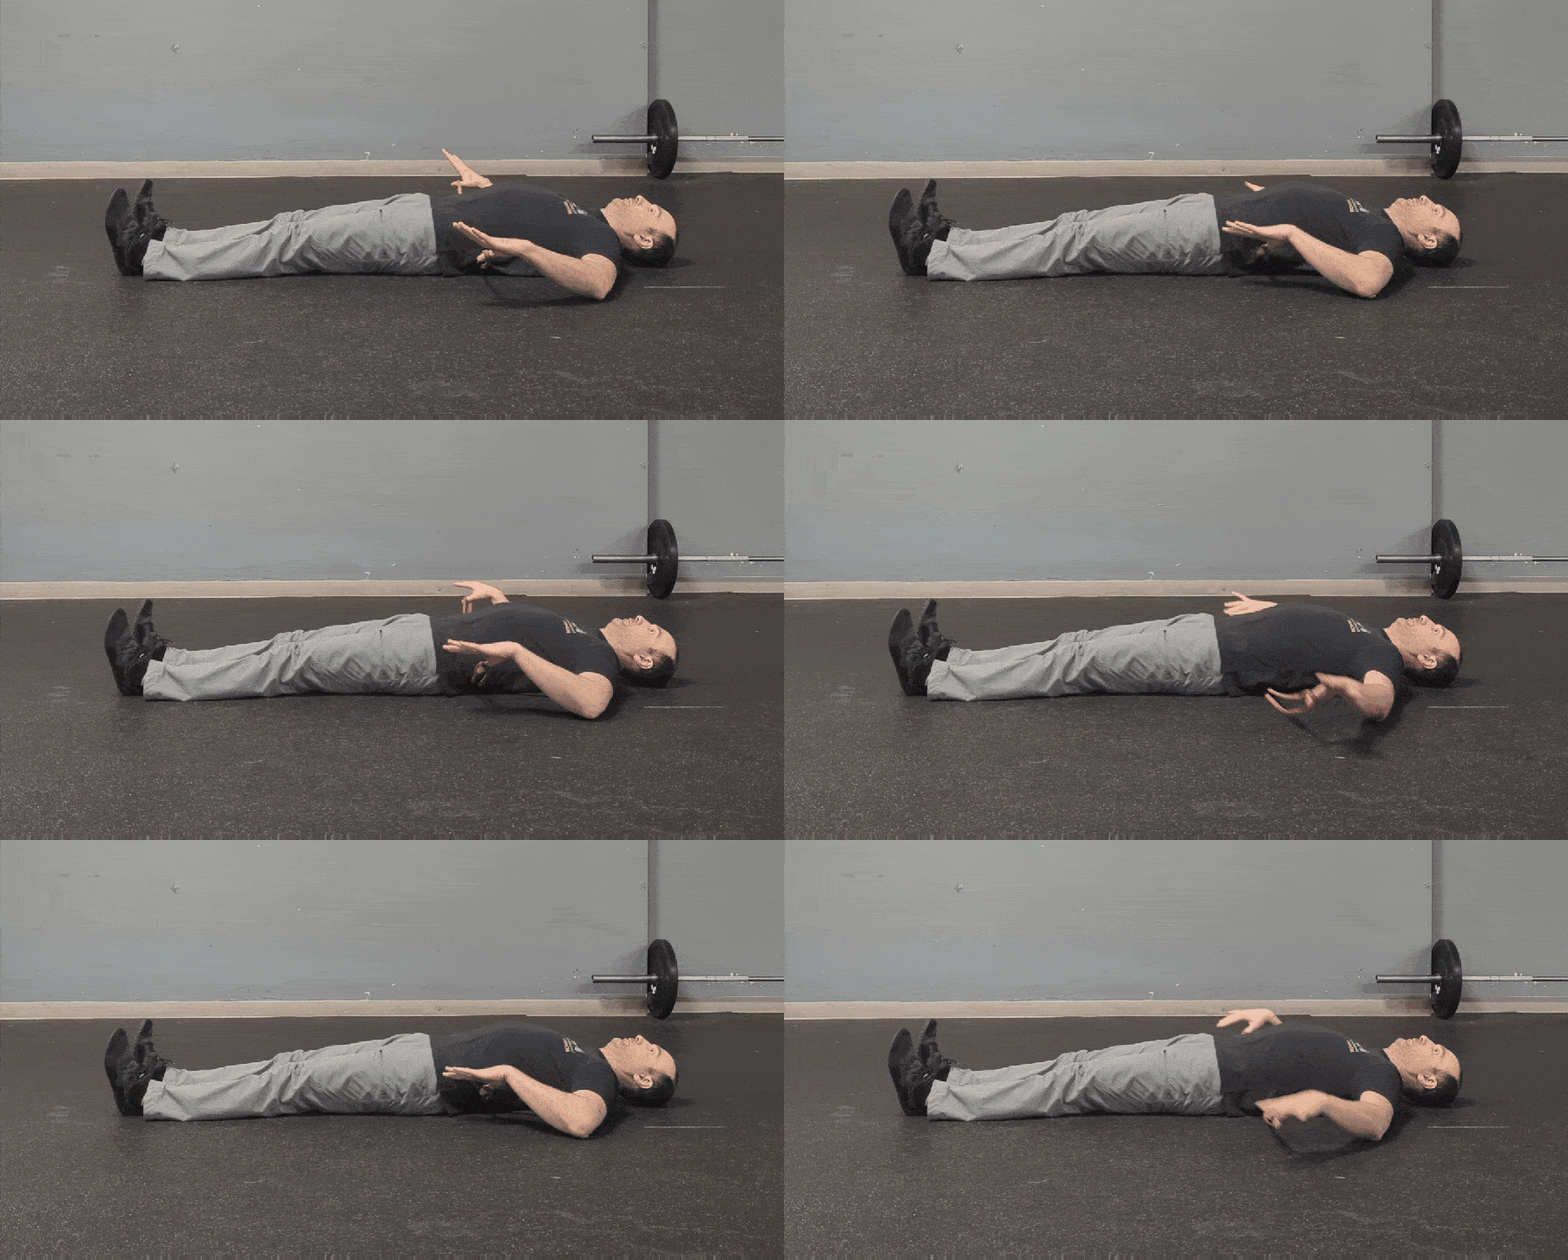
To practice, begin in a supine (face up) position on the floor with your hands at your sides. You should notice that your butt and upper back are touching the floor but your lower back is not. To test this, place an exercise band or towel under your lower back and slide it side-to-side with your hands:
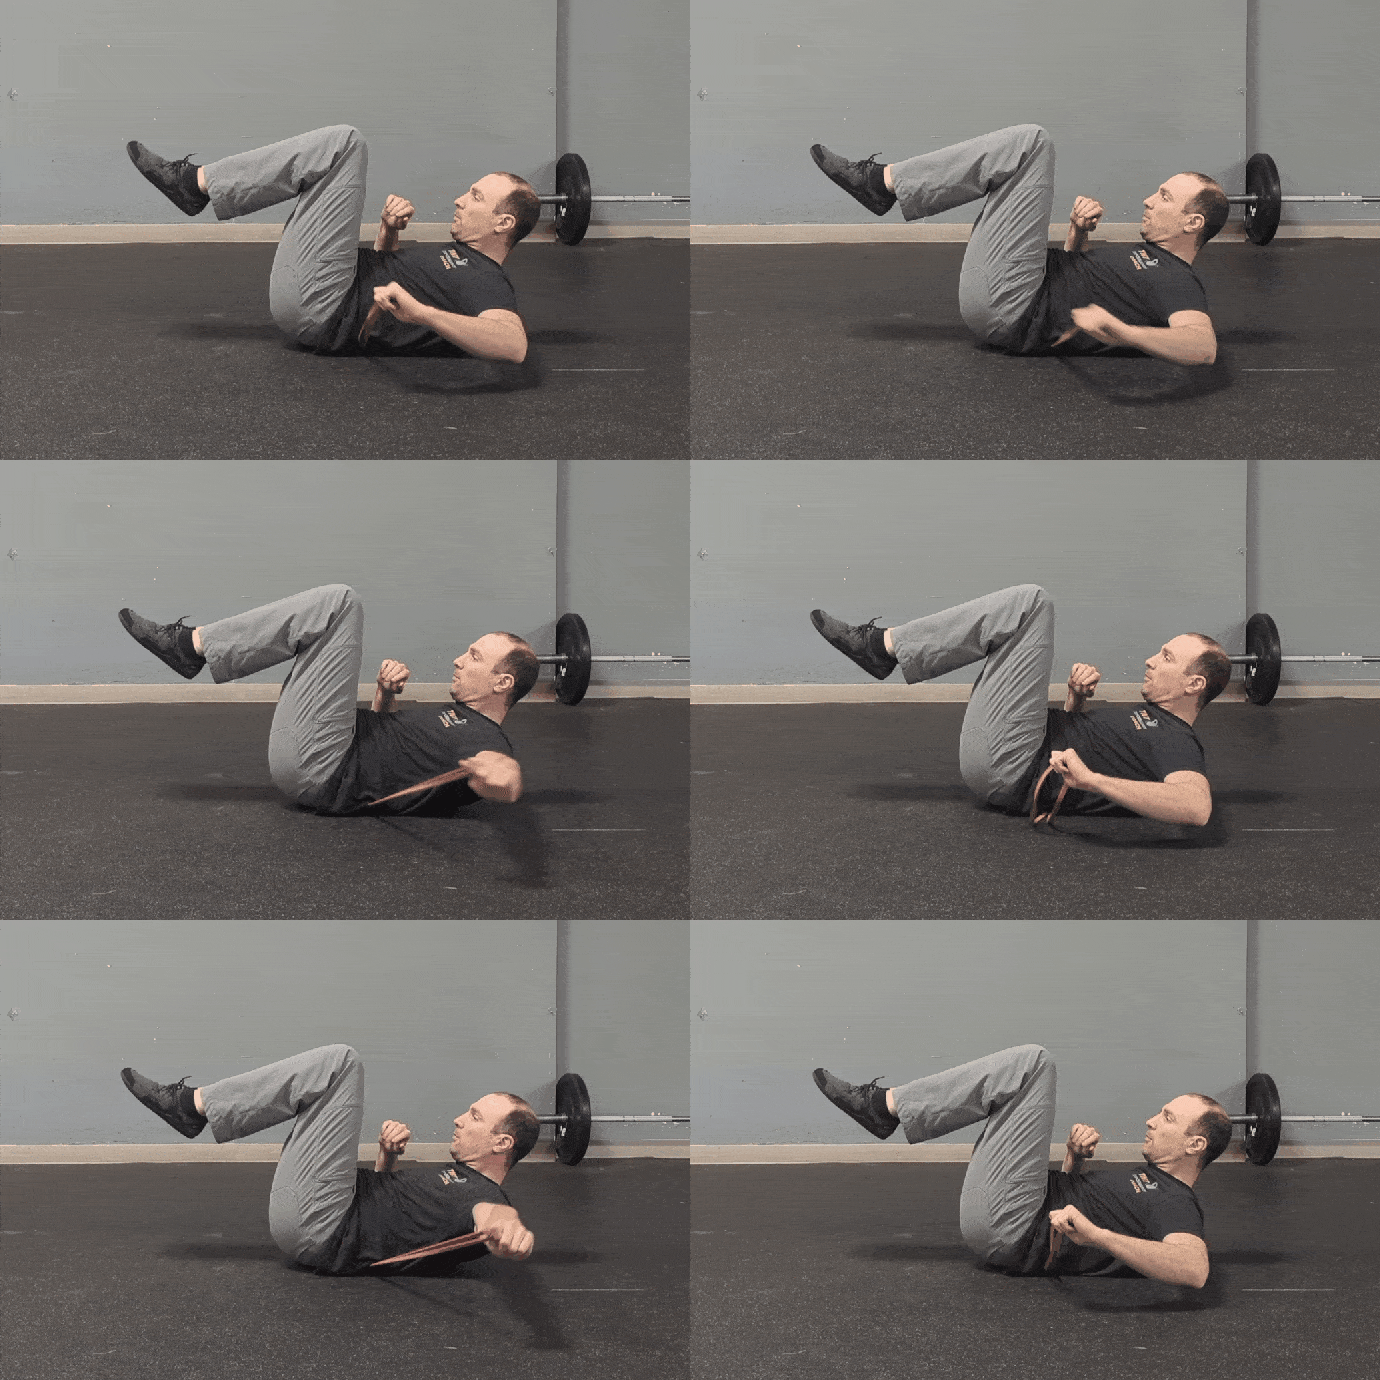
Next we’re going to flatten out that arch by pulling the knees toward the chest, contracting the abs, and bringing the shoulders just off the ground. If the exercise band or towel doesn’t move when you pull on one side of it, you’ve found the hollow position:
Hanging out here for 10–30 seconds will be more than enough if you’re just starting out. Take a 30-second break, and repeat the process 2–5 times more. Then stretch your hips and go do something else!
Of course, there are always more challenging variations to try as you grow stronger:
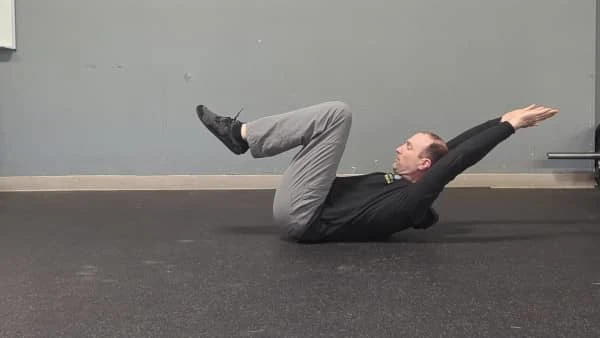
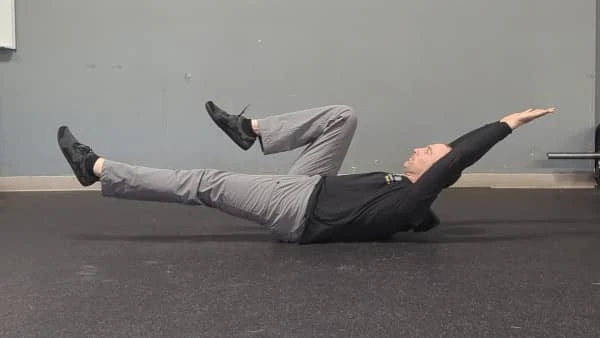
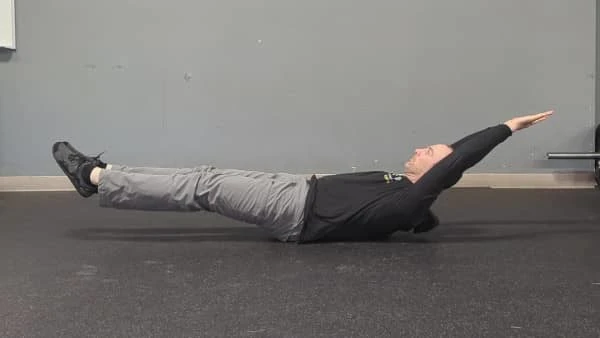

There are three main “don’ts” to remember when practicing the hollow position/hollow rocking:
1. Don’t let your lower back arch.
If this happens, revert to an easier variation (including the plank, as needed).
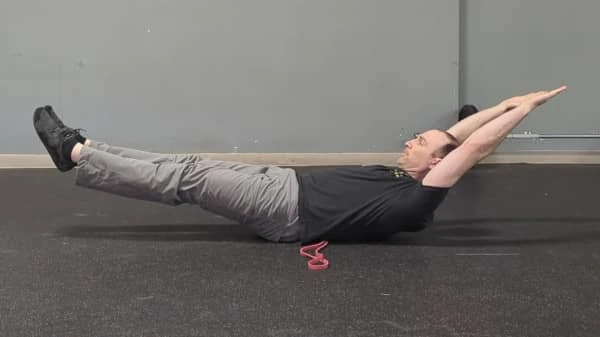
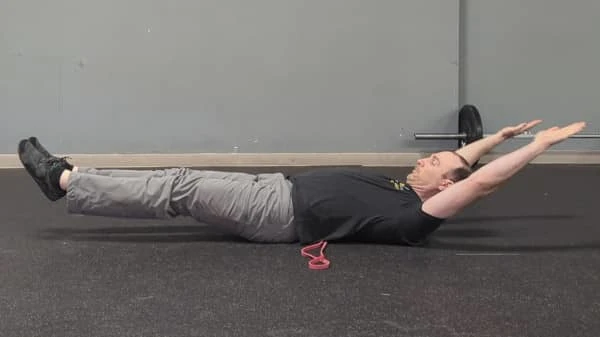
2. Don’t hold your breath.
Practice taking short “sips” of air while maintaining the braced position, and (again) revert to an easier variation if you catch yourself holding your breath.
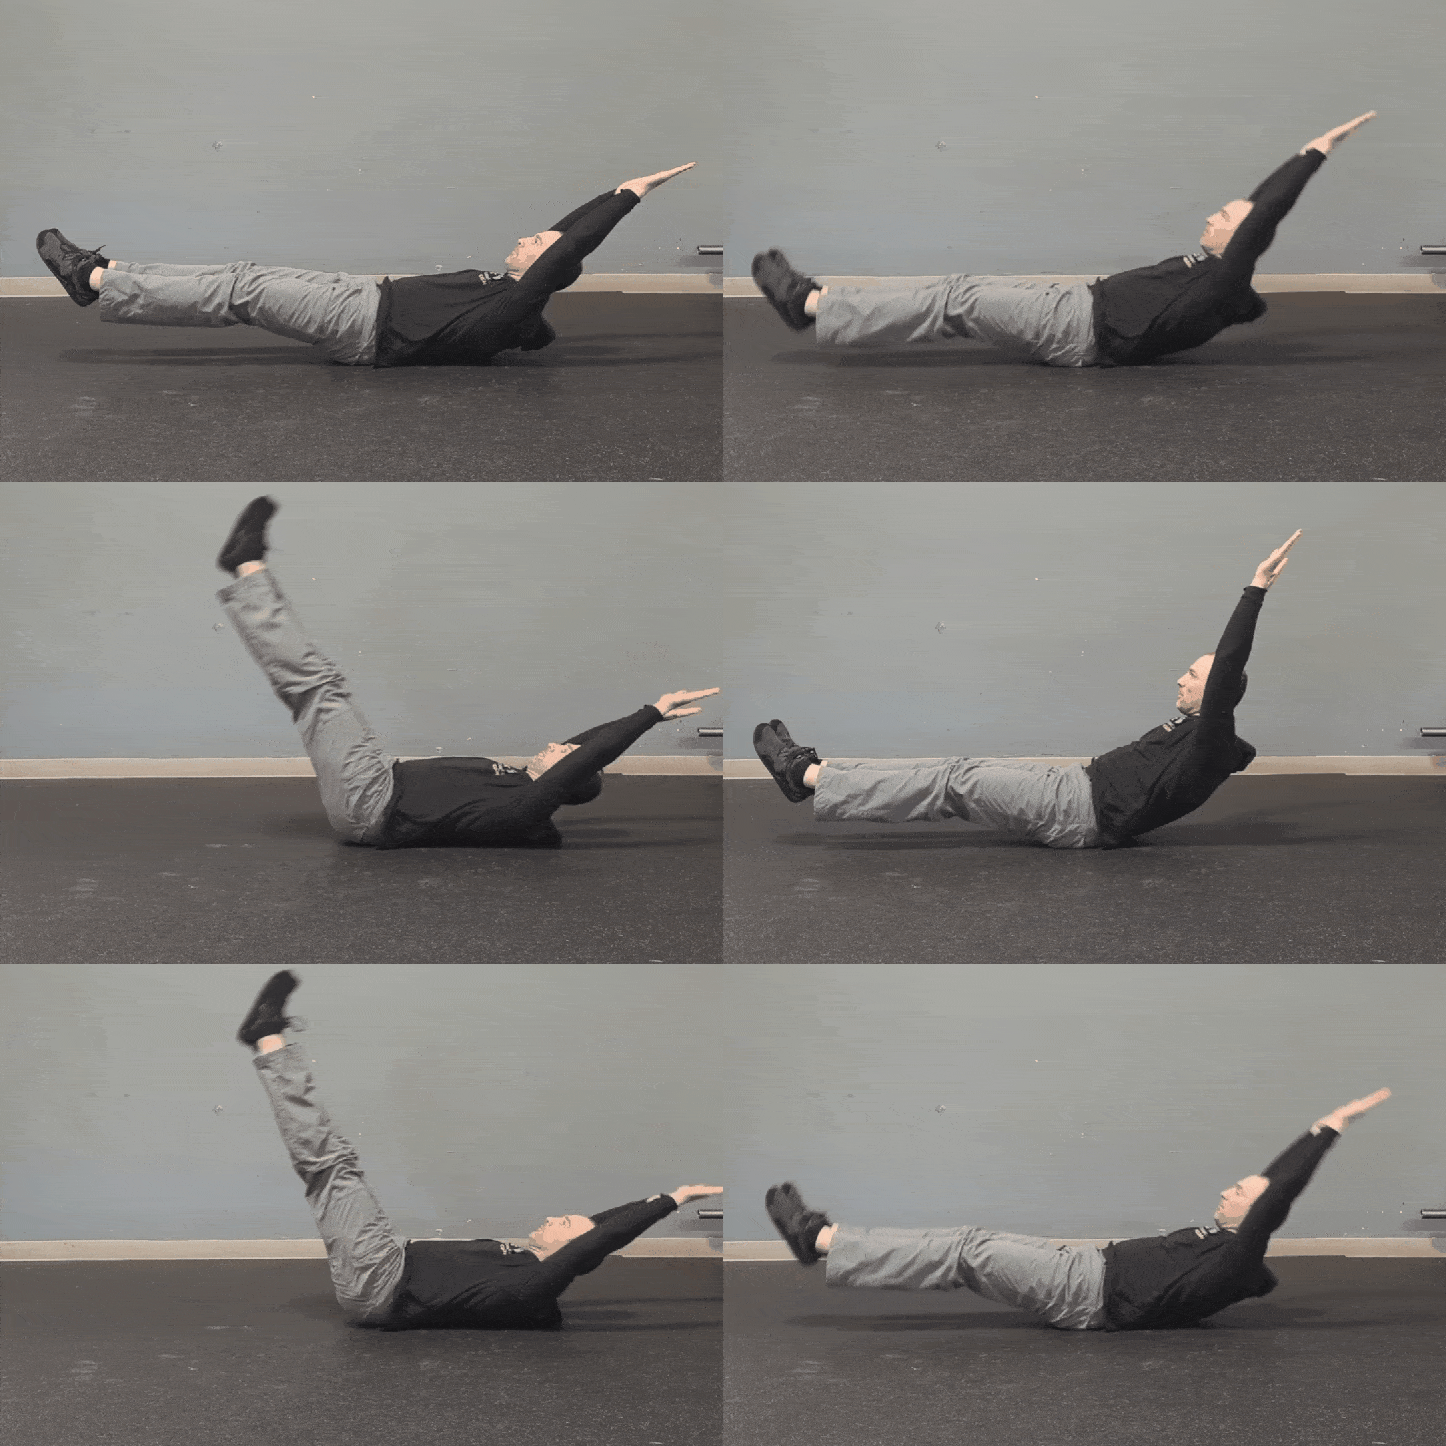
3. Don’t flex your hips, especially when rocking.
Hopefully I needn’t say it again, but I will anyway: Revert to an easier variation if you catch yourself doing this!
Putting it into practice
As mentioned in the section above, choose an appropriate variation and hold the position for 10–30 seconds. Then rest for 30 seconds (or longer). Repeat the process for a total of 3–5 sets (or more), and stop for the day just before you feel that your technique is about to degrade.
The name of this game is mastery, not getting smoked!
Unless you aspire to be a professional gymnast, practicing the hollow position just a couple times each week should be more than enough to produce noticeable improvements in your other fitness training efforts, sports, and day-to-day living.