If you’ve trained with kettlebells for almost any length of time longer than ten minutes, you probably have callused hands and a sound understanding of how much kettlebells challenge and build grip strength.
Both conditions are caused at least partially by a kettlebell’s fixed handle and offset center of mass, which are unlike the rotating shaft/sleeves of a barbell or the symmetry of a dumbbell. But just as significant to the post-training condition of your palms and forearms, as well as for your shoulder health and upper arm strength, is how you grab said kettlebell.
Let’s take a look at a handful of different grips (pun intended) and their potential effects.
Hand focus
The first two strategies for gripping a kettlebell differ by the location of the handle in your hand.
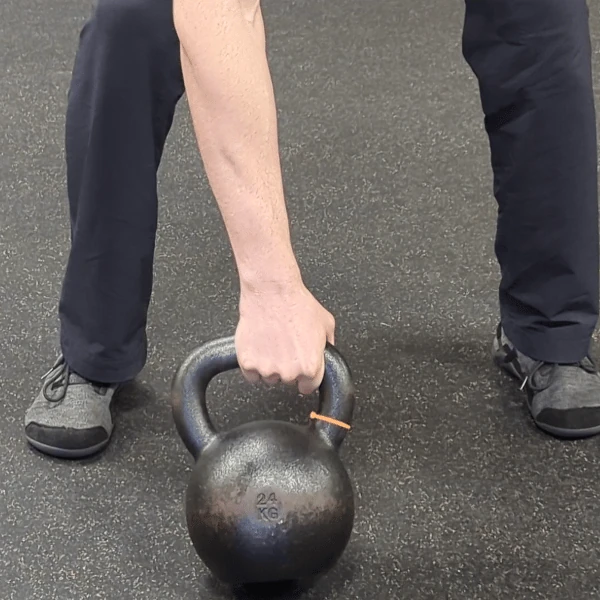
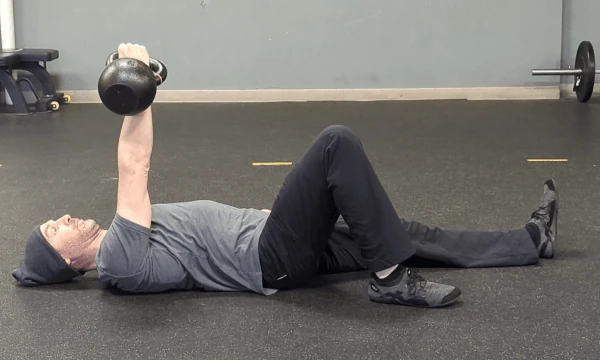
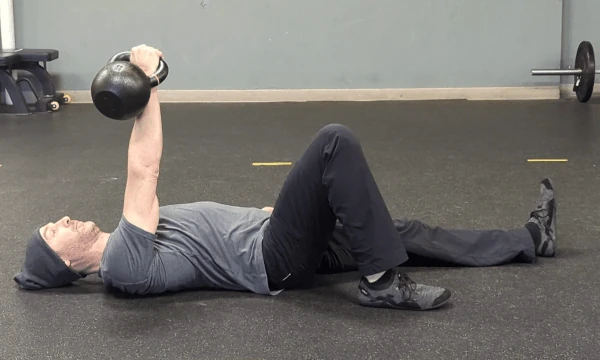
In the palm grip, the handle rests almost in the middle of the palm as pictured below.
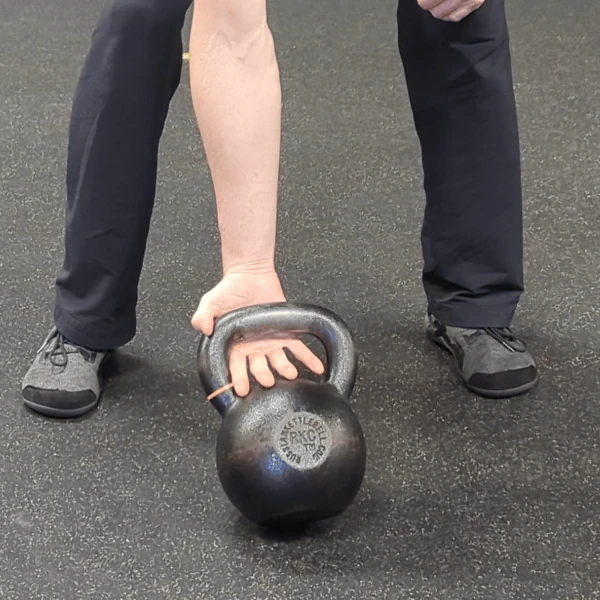
This grip generally feels stronger when doing swings, if you have shorter fingers, or if you’re in the beginner stage of grip training because more surface area of the hand contacts the kettlebell. In the case of cleans or snatches, it can also reduce the pull on the calluses of the first knuckle because the handle rotates in place in the palm.
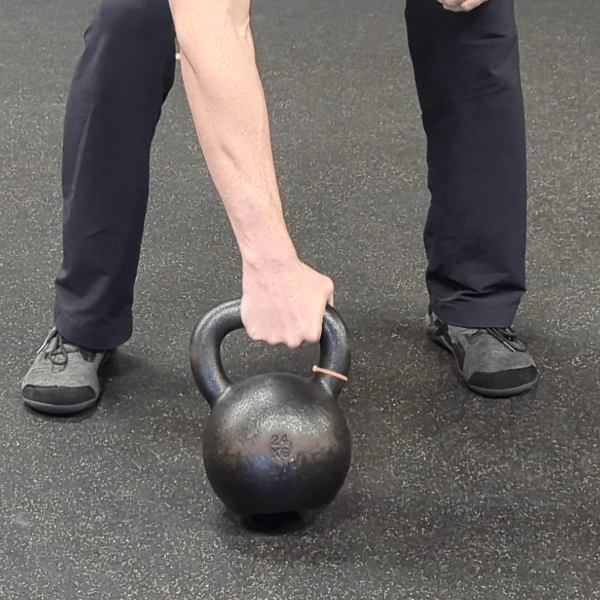
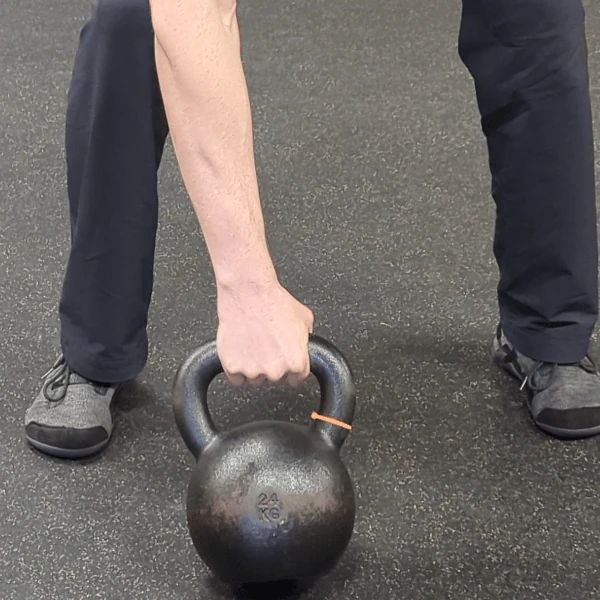
In contrast to the palm grip is the finger grip. As you’ve probably guessed, the handle rests more in the fingers than in the palm in this case.
The finger grip challenges finger, hand, and forearm strength more than the palm grip for two reasons: less surface area of the hand contacts the kettlebell and, subsequently, the small muscles of the fingers bear more of the load.
In the case of cleans or snatches, the finger grip can cause issues with calluses because the kettlebell slides from the fingers to the palm (i.e. over the calluses) on the upward part of the movement and then back again on the way down. This can be alleviated by using a relaxed grip and with a bit of practice, although doing so definitely requires more finger strength and isn’t necessarily the best strategy for beginners or if you’re training in a location where accidentally dropping the kettlebell would be frowned upon.
Handle focus
The second set of strategies for gripping a kettlebell differs by the location of your hand on the handle.
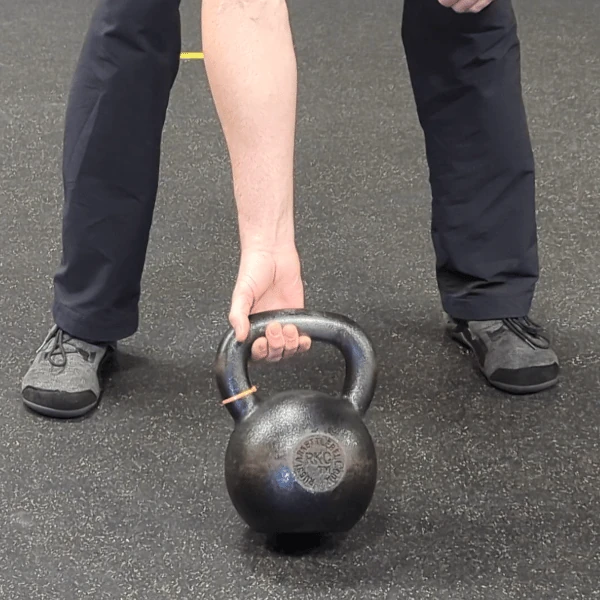
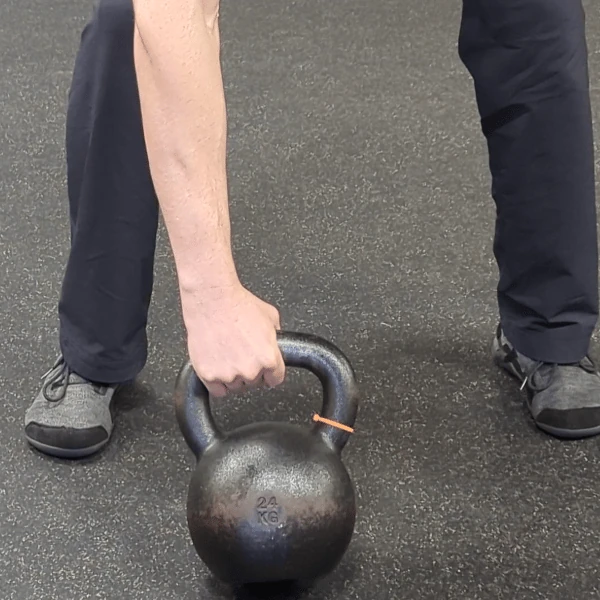
Whether your set-up requires a pronated grip (as when doing swings, cleans, or snatches) or a supinated grip (as when doing get-ups), grabbing the handle in the corner closest to your index finger and thumb is an inside or medial grip.
Move your hand to the center of the handle, and you have—you guessed it—the center grip.
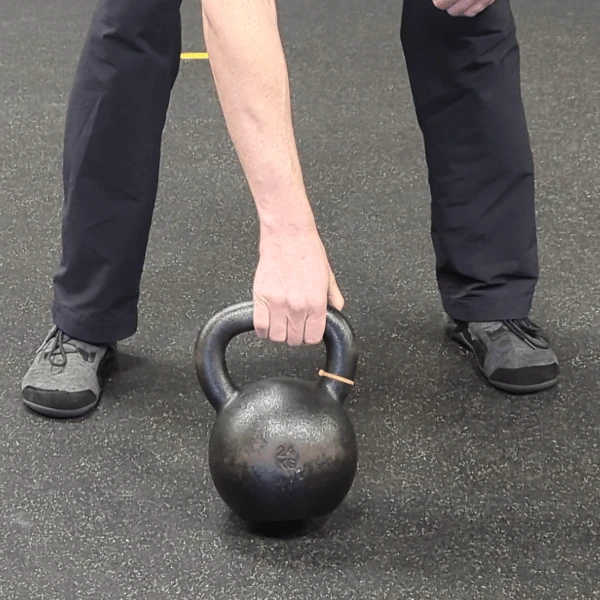
And if you grab the handle in the corner closest to your pinkie, you’re using the outside or lateral grip.
Which of these grips you should use will depend, to a small extent, on the exercise being performed and, to a larger extent, on your hand and wrist structure.
Just about any grip can be used in the case of single-arm swings, although the outside/lateral grip can feel more comfortable when switching hands at the top of the swing, especially for beginners, because a lot of “open handle” exists exactly where the non-working hand is about to grab.
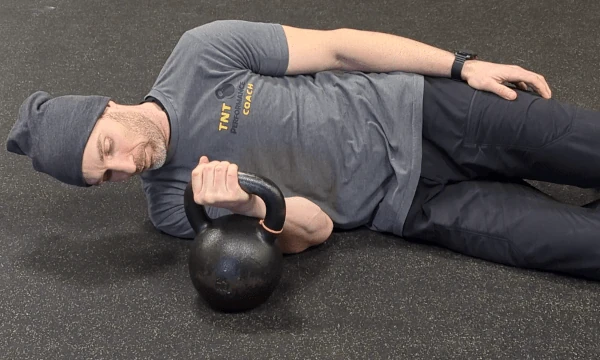
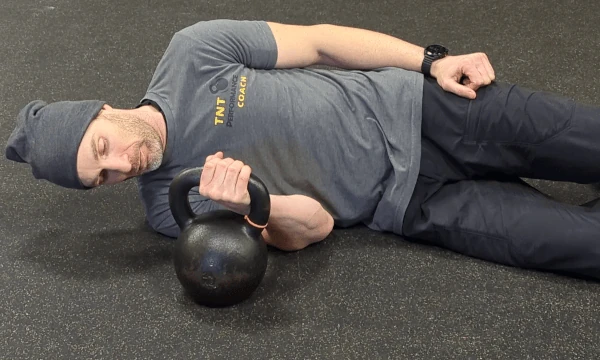
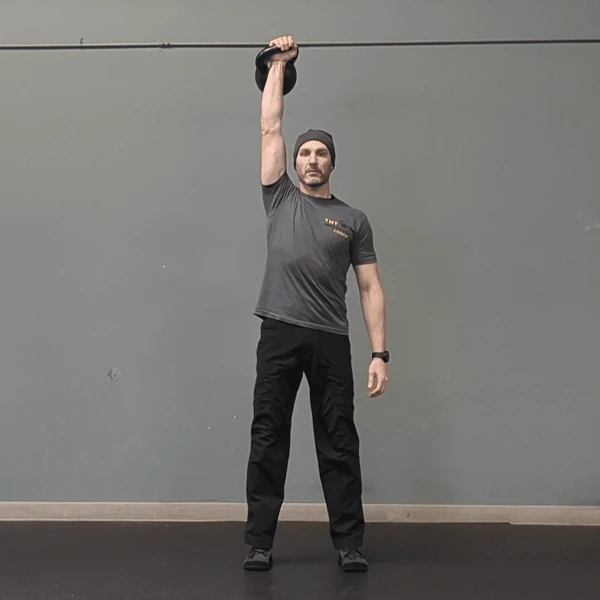
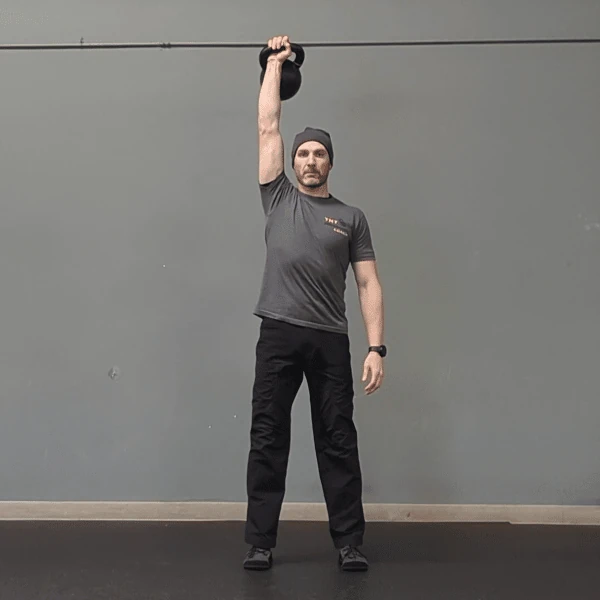
When it comes to performing any exercise in which the kettlebell will rest on the backside of your forearm at some point during the movement (e.g. get-ups, cleans, presses, snatches, fronts squats), you might have to experiment a little.
What you’re looking for is the grip in which the kettlebells rests squarely between your radius (the bone on the thumb-side of your forearm) and ulna (the bone on the pinkie side of your forearm) or perhaps slightly more in the ulnar direction. The kettlebell’s center of mass in this position is better aligned to allow for an easier elbow lockout. It also generally keeps the kettlebell away from your head in the event that something goes wrong during the movement.
Take a look at the pics below to see what I mean:
(If you couldn’t tell, the inside/medial grip is what works best for me. Your experience may be different!)
Putting it into practice
If you’ve never really paid attention to how you pick up a kettlebell, try some of the techniques above the next time you train. Then let me know which strategy works best for you, especially if you experience an “ah-ha” moment.
And if you want to fine-tune even more—or if you’ve never touched a kettlebell and are interested in learning the basics without developing bad habits—consider attending one of our upcoming workshops.